

"How could you have Christmas without a Christmas tree, Mom?"
(Home Alone 2;1992)
 I can say – making this Christmas tree really made my day. I wanted to create something that I haven’t seen on crafting blogs, so I searched a lot of them to make sure I won’t copy someone else’s idea. So far I haven’t found anything similar. I bought this polystyrene cone, but I wasn’t sure how I’m going to use it. The idea came quite quickly, when I saw those paper doilies. I grabbed the scissors and this is what I ended with.
 difficulty: easy
estimated time: approximately 30 minutes
You need:

- a polystyrene cone (mine is 26 cm tall)
- paper doilies (diameter of 10 cm) – best if they have wavy edge with “petals”
- pins
- ruler
- pencil
- scissors
 For decoration:
- pins
- beads
- kolor paper
- a star template (two triangles glued together)
Tutorial steps:

1. Using the ruler and pencil divide the doily into 10 parts (join the gaps between opposing petals - see the picture) and cut them. I used 16 doilies for covering the whole cone.
2. Beginning at the base of the cone, attach the parts of the doily in a row around the cone using the pins. Their corners should overlap a little.

3. Attach the parts of the second row between two petals of the previous row (like fish scales). Decorate the rest of the cone this way. You can glue the last row to the top of the cone.
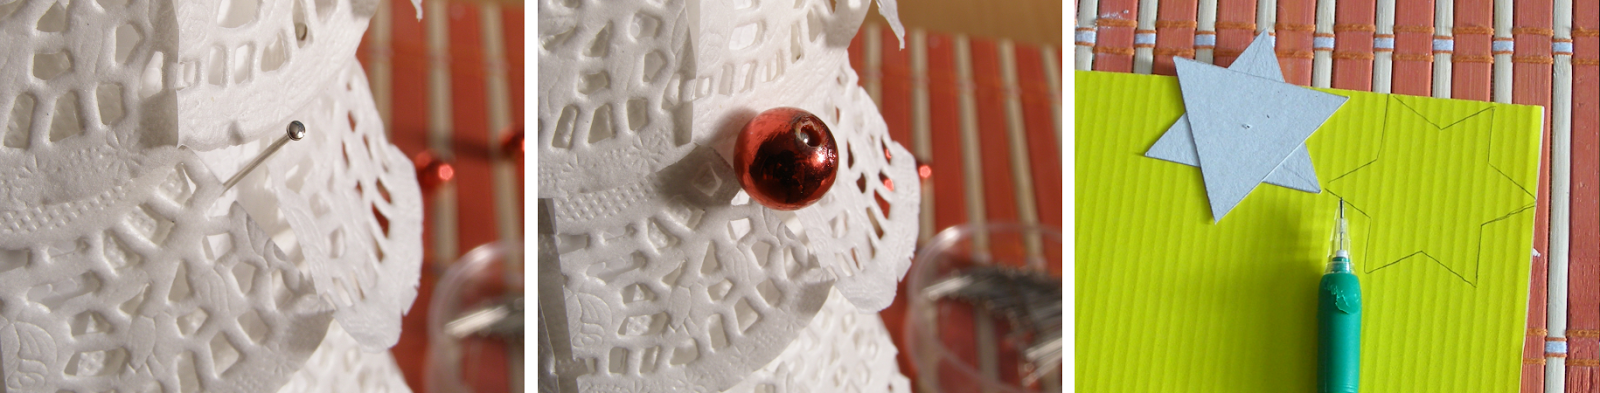
4. As for decoration, stick 1/3 of the pin in the cone (at a certain angle), and then hang a bead on it. It’s best if you add the beads decoration in places where the polystyrene is the most visible.

5. Copy the shape of the star on the piece of the color paper and attach it at the top using a pin.
Downloadables:
- Printable version (pdf)
And something to get into Christmas mood:

Next tutorial: Little Gingerbreads
No comments:
Post a Comment